Saturday, March 26, 2011

Shall We Gather?


I believe I've done all the damage I'm willing to do on this topic. And I'm still not certain which one I prefer. In some ways I am pleased with the more value-dependent first version, but I do like certain aspects of this one as well.

Which do you prefer?

Saturday, March 19, 2011

More butterflies


So here is the result of the plastic wrap. . . pretty nifty! And, the bonus benefit is that the technique can be completed more quickly than the careful layers I built up in the first version.

Now, I'm not saying that carefully painted "random" shapes aren't fun . . . but truly, there is a benefit in regard to the paper's surface. I had so many thin layers of paint on the previous painting that when I got to the end, I was having difficulty keeping a crisp edge on some of the darkest ares. The paper sizing was no longer effective, and feathers and bleeds were creeping into completed sections every time I applied fresh, dark color. So, reaching this level of texture with only a single application of pigment and water was very helpful in the long run.

I next applied one layer of a neutral tone over the plastic wrap effects to unify the patterns and then tackled the difficult section: evenly applying a mixed black throughout the painting.
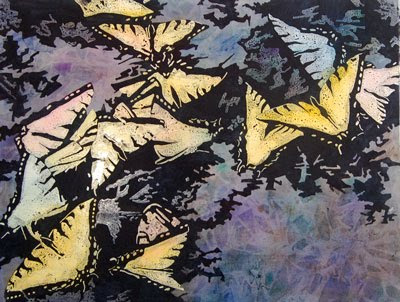

The darkest design shapes hold the composition together, I think. Here you can see the butterflies still covered in their masking fluid, surrounded by dark, velvety passages.

I mixed my black from Permanent Alizarin Crimson and Pthalo Green. It works wonderfully as a dark staining color, but it also tends to shift from green to purple if I don't have the proper balance of pigments in the mix. When dry, I went back over the dark areas once more, and added a touch of Cobalt Blue to the mix to even out the color shifts.

I had applied some masking fluid to areas that were wholly contained within the largest dark areas to preserve them, but the outer edges of all the convoluted shapes were painted freehand. I had to work quickly, and always stay ahead of the wet edge of paint to avoid obvious brushstrokes. Keeping these shapes sharp and flat-toned was critical to my concept in this painting.

Wednesday, March 16, 2011

Butterflies reprised


Well, the butterflies intrigued me enough that I thought I would try them again, and this time I took some process photographs.

The new version of the painting is much larger -- nearly 24 inches across versus 14 inches for the original.

I first wet down the sheet and then dropped color into the areas of the butterflies. I also decided to go a little wild with some of the colors, so I have some blue, green and pink butterflies among the yellow ones.

After those soft color blossoms dried, I spent hours carefully masking the butterflies. I used some tape in larger areas, and carefully sealed those edges with masking fluid. Then the masking fluid went around the taped areas and into all the nooks and crannies that make up the butterfly shapes. I didn't photograph the masking stage...my masking fluid is colorless, so there wasn't much to see.


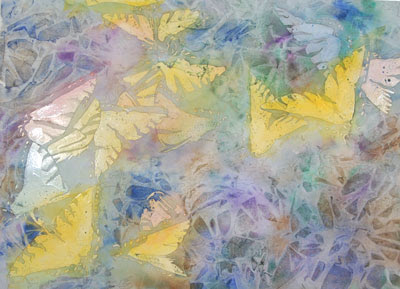
This image shows my next step -- painting over the entire painting with dark colors, and then crumpling sheets of plastic wrap into the wet paint. In the first version of the painting, I carefully painted all the textured effects. For this one, I wanted to try the random texturizing that plastic wrap could provide. The wet pools of color also tended to intensify pure pigments, so some colorful patches -- ranging from dark purple, to green to blue -- were created along with the texture.

I let the plastic wrap stay on the wet surface for about an hour. Then I carefully peeled the plastic off so the entire surface could completely dry.