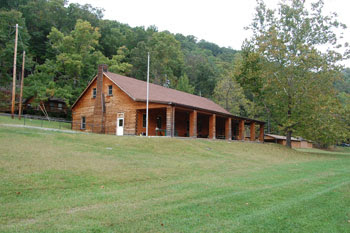
The class for the women's retreat was held in Dodd Hall at Hardy County's Camp Pinnacle. The building serves many purposes for the camp, including dining hall, assembly hall, and casual hang-out. The camp itself is in a secluded space between a mountain ridge (topped by the rock formation known as Pinnacle) and the overflow channel of Lost River/Cacapon River.
Lost River, one of West Virginia's natural wonders, goes underground near the camp, and when the river rises again on the other side of Sandy Ridge, it is known as the Cacapon. But not all the water can fit within the underground cavern that carries the river's flow. In rainy seasons and during floods, a rocky channel around Sandy Ridge carries the excess water to the head of the Cacapon.
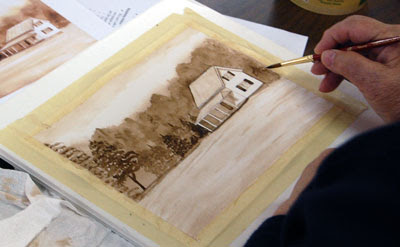
The first night of the session was devoted to a discussion of watercolor materials and methods, including exercises where I had the ladies practicing flat washes, graded washes, glazing washes, and experimenting with wet-into-wet washes. We also worked through creating different brush strokes by varying the angle of the brush and the pressure used during the stroke, as well as having fun with watercolor resists: crayon and masking fluid. The ladies also loved splatter techniques, backruns, and salt for mottled effects.
These exercises, using single pigment color (VanDyke Brown in the Cotman line), were then used the next morning to complete a landscape. In the photo above, Kathy has nearly finished her painting, and is adding one more tree shape to balance her composition.
After completing the one-color landscape, we moved into a discussion of mixing colors. Mostly I wanted to stress that, in watercolor, there are different ways to mix colors, whether by mixing on a palette, mixing wet-into-wet on paper, on glazing one color over another already dried on paper. So we completed some experiments of mixing an orange from Alizarin Crimson Hue and Cad Yellow (all Cotman) in the three ways, and compared and contrasted the results from each.
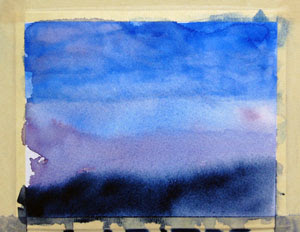
This led into a more abstract landscape where we created a mountain scene under the multi-colored sky of a sunset.
We completed one set with sky colors ranging from Indigo, to Thalo Blue, Alizarin Crimson Hue, and Cad Yellow, all added in a wet-into-wet style so they would blend. When this dried, we added the mountain range shape in Indigo, and then spiked the base of that shape with some VanDyke Brown to add the suggestion of foreground ridges.
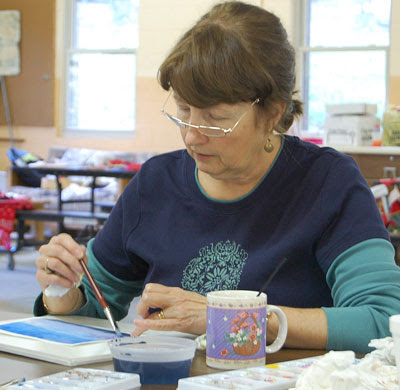
After completing that project, I gave the ladies new sheets of paper and had them try their own versions of a misty mountain landscape. Above is Judy working on her project, as well as a closeup of what she was working on. She wanted to add the purple areas to suggest even more distant mountain ranges and, she admitted, because purple is her favorite color.
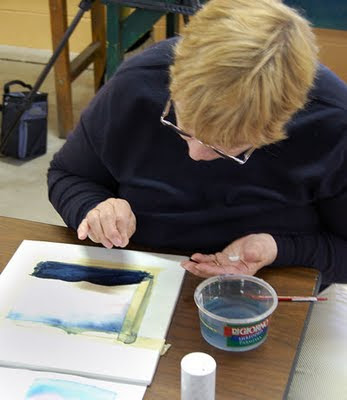 Here, Kathy is applying some salt to her second mountain landscape. Several of the ladies tried this technique, some with good results. The trick is to add the salt at just the right moment. If the paint is too wet, it creates large blotches, too dry and the salt doesn't work at all. I told them I rarely use the technique myself because I have difficulty gauging the timing.
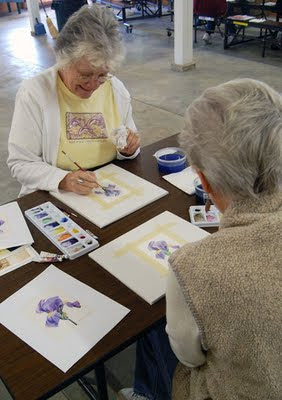
On the last day of the class, we tackled a floral. Using a color copy of one of my iris studies as a reference, the ladies began placing light washes of a mixed purple onto the paper to define the basic petal shapes. We had mixed the purple from Alizarin Crimson Hue and Thalo Blue, and had created two versions: One with more red for a warmer look, and one with more blue in the mix for a cooler version. Alternating these different purples around the petals adds more interest and depth into the shapes. Here, Lois and Fern work on their irises using the two colors.
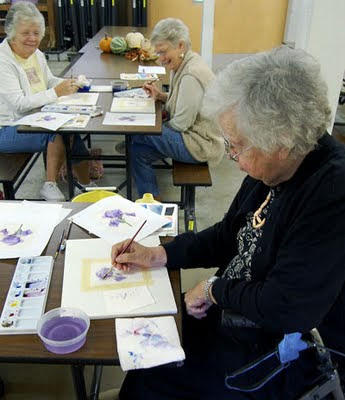
Here, Mary concentrates on darkening shadowed areas of her iris petals. The ladies had to add color glazes in light layers on each petal, and carefully manage the edges of their glazed washes to create smooth transitions between light and dark areas.
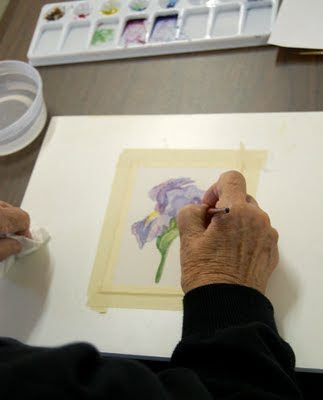
A closer view of Mary's iris shows a different stroke technique. Mary admitted to being a "dabber," feeling more comfortable with short strokes. In the case of the iris, that method created a unique textural effect that made her blossom look more like one of the heavily ruffled varieties of bearded iris.
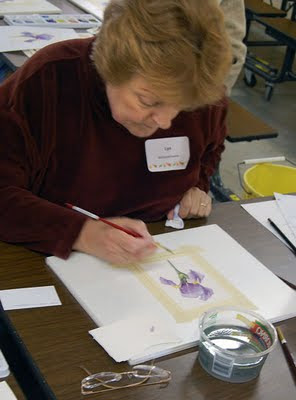
As the class draws to a close, Lyn finishes with some details in preparation for applying light veins over the petals, the final step in making the bloom appear realistic.
It was a busy three-day session, marred by my clumsiness (I twisted my ankle, and had to teach a good portion of the class while sitting down), but I think that the final results for everyone were encouraging.
Again, I want to thank my pupils for their patience and enthusiasm for the projects. I also want to thank the retreat organizers, particularly Miriam, Susan, and Helen, for a great time!

No comments:
Post a Comment